Short Engine Rebuild - Pistons
11th Feb 2011
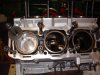
Cylinder liners and crankshaft were in, so it was time to fit pistons and rods. Firstly, you have to connect each piston to its rod, then put the piston rings on, before fitting the whole lot in the cylinder.
Assmbling Pistons
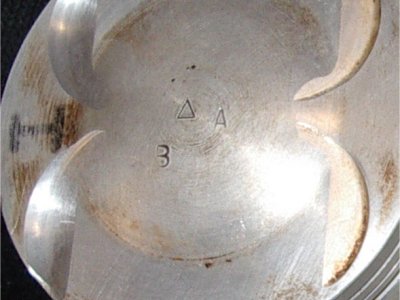
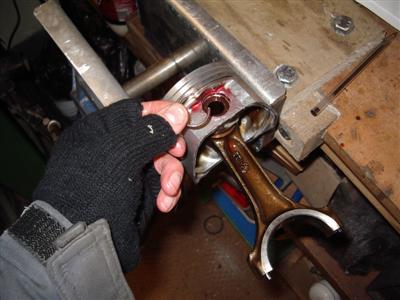
I did each piston in turn to make sure that I didn't mismatch any parts - my previous labelling of absolutely everything had worked well and I had no trouble keeping everything in sets.
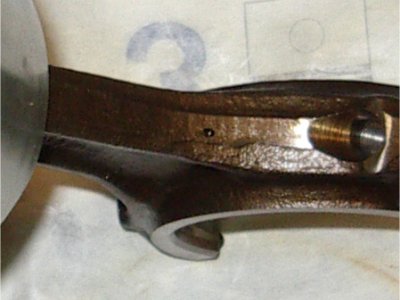
So, each gudgeon pin goes back into its piston, holding the rod in place. I cleaned and lubed it all up with assembly lube first. A couple of the pins were a really tight fit in the pistons, so had to be assisted gently with the hammer. You have to be careful it's all lined up properly, and not force anything. It's also important that the rod goes in the right way round - the oil squirt hole has to be on the right hand side (in both banks):
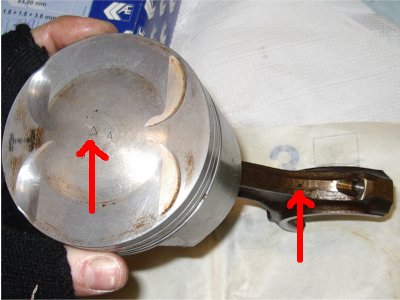
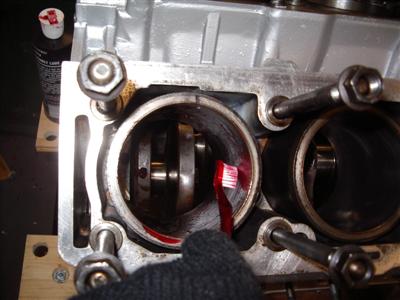
 With the arrow on the piston facing forwards, the oil squirt hole should be on the right hand side
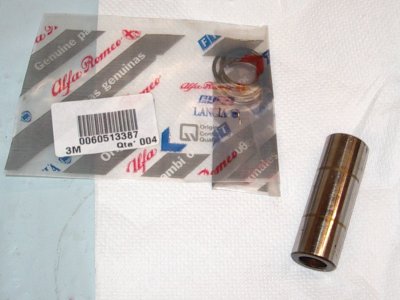
I'd bought some new snap rings to hold the gudgeon pins in:
Getting them in is a royal pain in the arse. Especially if your hand is still a bit mangled. The engine builder described them as "a bit fierce", which is an understatement! I stuck one end of the clip in its groove, and used a pair of pliers to bend the other end in. I say that, it was more like, put one end in, grip with pliers, bend, pliers slip off, try again, clip goes shooting across the garage, try again, skin knuckles, swear, kick the cat, etc etc. Bloody awful job, the worst so far I think - and there are twelve of the buggers. There must be a knack or special tool, but dammed if I know what it is.
 So much pain, from such a simple thing
Anyway, after several hours work, they were all in. Before fitting the piston rings, I checked the gaps of each, by sliding the ring into the appropriate cylinder, and measuring with a feeler guage:
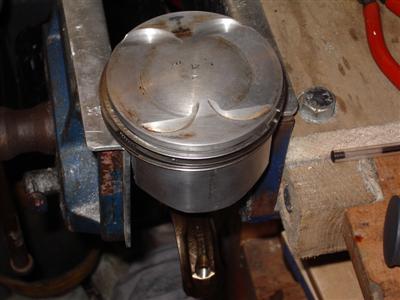
All were within spec, so no worries there. One at a time, I fitted the rings to a piston. I'd meant to get some ring expanders, but never got around to it, so I just stretched them on by hand. Easy enough, the top ones were a bit tight, but not too bad. As with everything, you have to take your time, make sure that each ring is the right way up, and that the ring gaps are evenly spaced. Then, a final clean of the big end bore, place a bearing shell in it and lube, and it's ready to go in the cylinder.
First, I cleaned each cylinder bore - should have done this before fitting really, in fact I thought I did, and they looked very clean. But I gave one a quick wipe and the cloth came out covered in grey, which I presume is left overs from the honing process. So I gave each several wipes out with kitchen roll and WD-40, until they were clean. Worth doing, as I imagine it would be pretty abrasive stuff.
Once cleaned, I used a toothbrush to apply lube to the cylinder walls, then in went the piston.
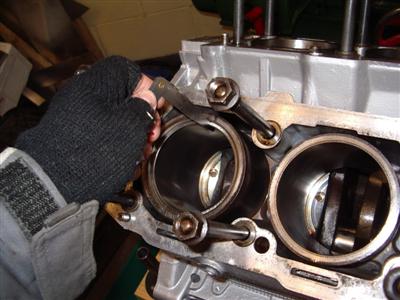
I used a ratchet-type ring compressor, again easy to use. Each piston was tapped into the bore using a hammer handle, and I reached through from underneath the block to guide the big end onto the crankshaft journal. This is where a proper engine stand would have made things a lot easier. I then added the big end cap and just nipped the bolts up (they get torqued up later).
One thing to be careful of is that the compressor is fully seated against the top of the cylinder - or the rings can sneak out of the edge. You need to check that everything is in properly before you start pushing the piston down the bore.
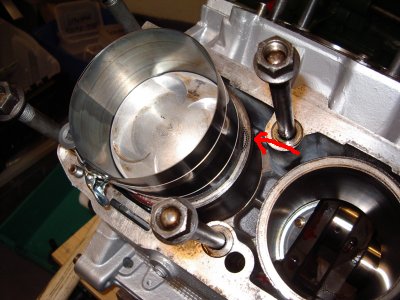 Watch out for things poking out of the compressor - here, a section of the oil control ring has escaped.
As each one went in, I turned the crank to make sure that nothing was feeling to catch or be unusually stiff. And nothing was, although obviously it gets harder as each piston is added. This is where you have to make sure that the cylinder liners are bolted down, otherwise the pistons will push them out of the block as the crank is turned. Yes, it happened.
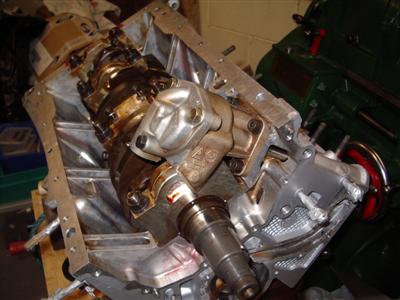
With them all in, I turned the block over again, so that I could torque up all of the rod bolts. Just a nice simple torque setting here, no angle malarky.
Fuel Pump, Oil seals.
Not much more to do to the bottom end now. I bolted the fuel pump into place, after first taking the cover off and packing it with vaseline - this helps the pump prime when it is first used (the vaseline doesn't drain out of the pump, but will quickly dissolve in the engine oil). I used threadlock on all the fuel pump bolts to stop anything shaking loose.
Then fitted the fuel pickup and front cover. The cover just bolts on, with a gasket to seal the join, and the oil seal pushes into place. There is a special tool, but I just used a drift to gently tap all around the edge and make sure it was properly seated.
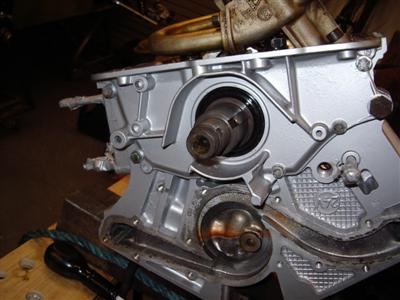
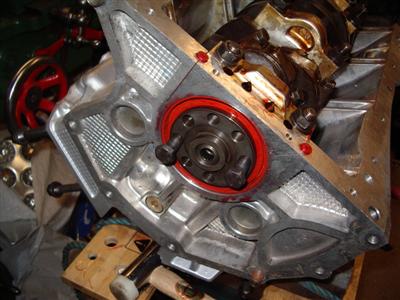
Rear crankshaft oil seal next; a smear of lube and it just pushes in (ooer). Again a gentle tapping to seat it properly, and we're done:
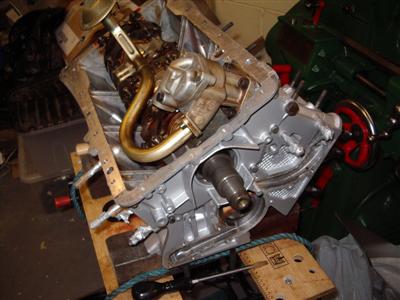
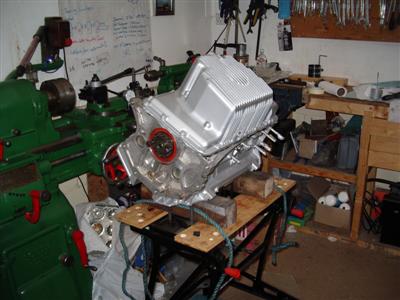
Sump
And the absolute final job - fitting the sump. No gasket here, a bead of RTV silicone sealant is used. I'd cleaned it all up before so just a simple bolt-on job. With it on, everything's sealed up so I don't have to worry about dust or rust getting into my bearings anymore. Here's hoping I don't need to chop the sump for ground clearance, it looks bloody huge from this angle.
Next
I'm still waiting for the heads, so that's as far as I'm likely to get with the engine build for a bit. What it does mean though is that I can get the flywheel back on, and measure up for the clutch. And whilst that's going on, I've got some wiring to do...