More Engine Work
But first...
10th September 2011
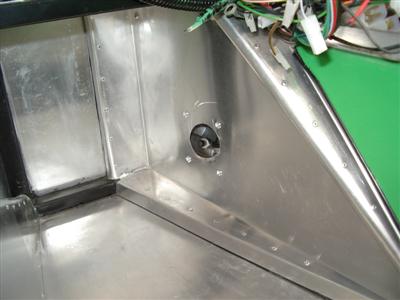
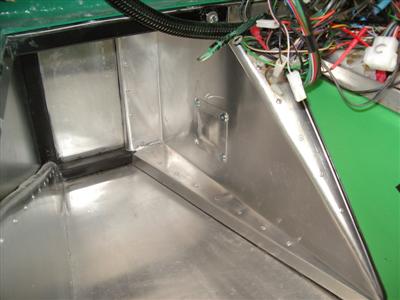
It was quite awkward cutting the hole in the footwell, as there isn't a lot of space in there. So not quite as neat as I'd normally like, but good enough. To cover it, I made up a bulged cover. The bulge was made by pressing a sheet of ally using a wooden former and a vice. It took a couple of test pieces to get right, but the end result is quite smart. Unfortunately I slipped with the dremel when cutting the hole and put a big scratch across the ally, but never mind.
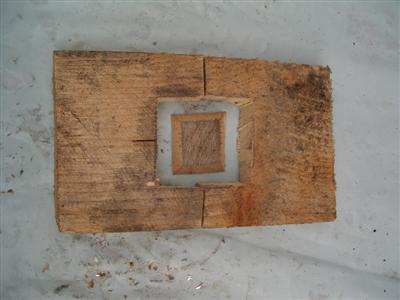
The cover is just held on with rivnuts. Here's the former: The flat sheet is held against the outside part, and the small square presses into the central hole to form the bulge.
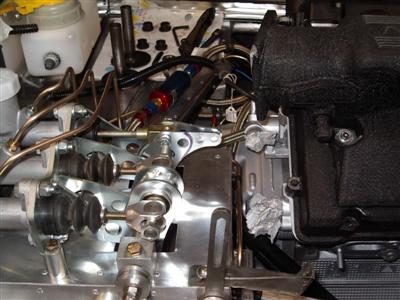
Throttle
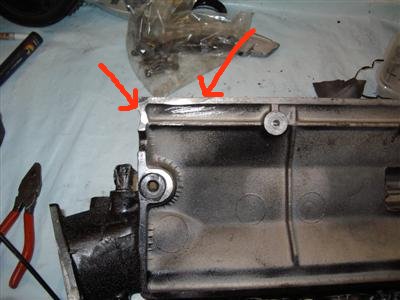
Next job I tackled was seeing if the throttle would fit. As I'd hoped, my new cable attachment meant that it would clear the clutch pedal - just. To turn "just" into a reasonable amount of clearance, I cut away the unused end of the clutch pedal:
 Left - the pedal before. Right - after cutting down, plenty of clearance now.
I moved on to fit the throttle cable, and here ran into a problem - one I should have picked up earlier. The cable wanted to run through the bottom of the plenum. I should have trial fitted the throttle to the plenum when I was making up the new cable holder - then it would have just been a case of changing the angle of the cable slightly. No chance of that now, with it all welded up. Fortunately, there's a fairly large gap between the plenum and the cover it sits on. So I cut a grove in the edges of the plenum support, fitted some grommets to the cable, and ran it underneath the plenum. It ended up looking pretty neat, just more effort than it should have been. My own fault though.

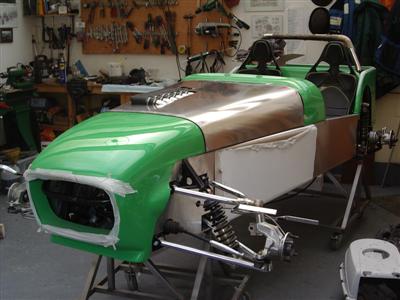
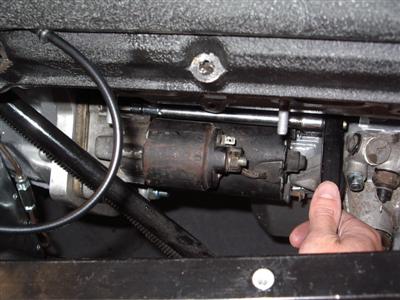
Starter
Now that the engine's in place, not everything can be accessed easily - so I need to make sure that I bolt things on in the right order, otherwise I'm going to end up dismantling something to go back and fit something I forgot! The starter motor is one such item. There'll be no way of getting to it once the steering is connected, exhausts are fitted, etc. So I fitted it now, an easy enough job. Already the removable sides are showing that they'll be worthwhile, as it would be a real pain to get it otherwise.
Speaking of exhausts, I had hoped that the standard manifolds might fit - they are tubular stainless steel and generally regarded as rather good, and would save me a bunch of cash. But alas, space is too limited, so I think I'll have to get some custom headers made.
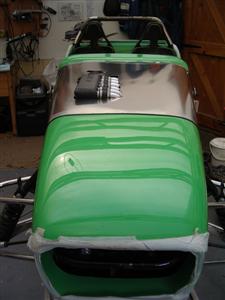
Bonnet
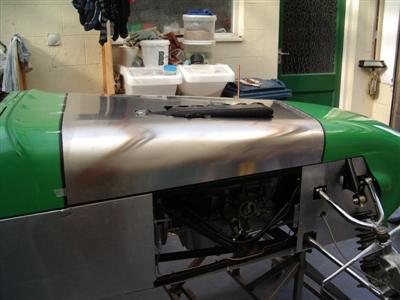
Now I've got the plenum on (albiet temporarily, it'll be off and on a lot over the comming weeks), it means I can no longer shut the bonnet. So I thought I'd roughly make the bonnet cut out, largely because it's better having everything fitted rather than kicking around on the floor, but also so I can see how it's going to look.
Making the cutout was just a case of taking it slow, doing a bit at a time, gradulally enlarging the hole until it fit. Took an evening to do, I've made the hole as small as possible at this point, and just left it rough. I'll have to enlarge it later, but I want to leave my options open at this point.
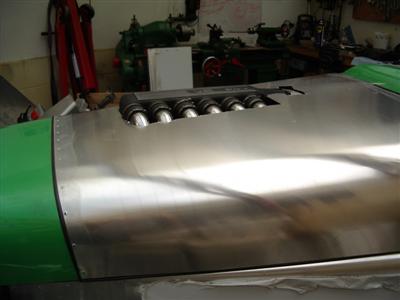
In-progress shots...
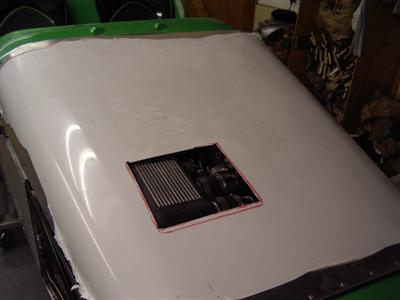
The finished (rough) cutout. The plenum protrudes both more and less than I'd expected - I thought it would be higher, but that only about half of it would stick out. It goes back a bit far if I'm honest, right back to the throttle. So I may see about a bulge or other cover, for part of it at least. Still I rather like the visible inlets, very hot-rod-ish. Subtle, it is not! Anyway, I've got plenty of time to look at it and think about whether I want to try to cover it or not. The standard bonnet scoop wont work because it's off-centre.