
Rebuild
Gear Repair
The most damaged part was the bottom gear, which was missing 4 teeth. There are various ways of repairing gears, but the usual one seems to be welding up the damaged part, then machining it back down to the right shape. A pit of googling showed a few examples of people doing this by hand, so I thought I'd give it a go.
Now when I'd tried welding cast iron before, I'd used the "heat it up to red heat" method. (See the Mancuna rebuild for example).
However, I'd read this article on Mig-Welding.co.uk, and at the bottom a chap wrote in suggesting the use of stainless steel wire.
I'm fairly new to metalurgy, but his argument made some sense. Cast iron contains a lot of carbon, so when you weld it with mild steel wire, carbon diffuses from the cast iron into the weld pool, and you get carbon steel. Now when molton, this will be in the form of austenite; But as the weld cools (which it does very quickly), you end up with martensite - you've basically created some hardened, and very brittle, tool steel. This transformation also causes a volume change, so coupled with the brittleness, you get cracking. Nickel is thus often used as it doesn't go through these transformations.
As the chap points out though, neither does austenitic stainless steel. In this, the austenite is stable at all temperatures, so does not transform to martensite on cooling. So, there should be no hardening, volume change, and hence no cracking. This all seems to make sense, so I thought I'd give it a go...
So I set up the welder, and welded some nice big runs along the damaged teeth:
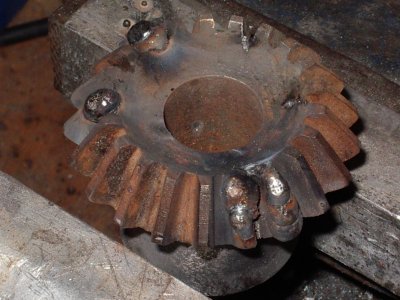
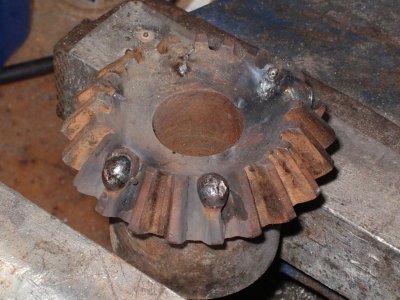
No "pinking" to be heard, which was a good sign. From there, a fairly painstaking process of manually filing the teeth back into shape; about 3 hours for the lot. As they neared the right shape, I made repeated checks against the other gear to see that they were meshing properly.

The end result aint half bad, if I do say so myself:
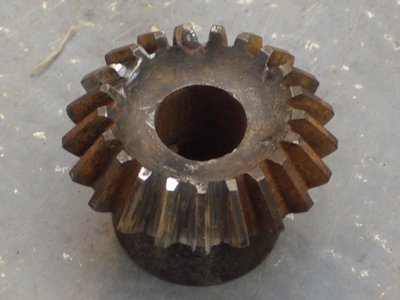
I'm pretty happy with the weld too - I shall definately use stainless on cast iron again, as it's seemed to work perfectly here.
General Cleaning
I cleaned the various parts with a combination of wire cup brushes in the electric drill, and fine emery paper with copious amounts of 3-in-one oil. This got pretty much all of the rust off without too much trouble.

For the machined bed, I wrapped emery paper round a big steel block to ensure a nice flat surface:

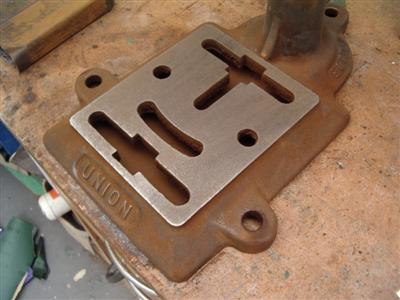
Generally just elbow grease though, nothing clever. I was very pleased that everything cleaned up pretty well, and all the screw threads and pivots moved very freely afterwards. Considering the fact that it was all siezed solid to start with, this was encouraging.
Painting
I'd brush-painted the Mancuna, which seemed to suit its more rough castings. This one is a bit more finished though, and still had enough original paint that the colour scheme was clear (black with red writing). So I went with the same scheme, using Rustoleum spray paint. I did the letters by hand with red metal paint afterwards.
Re-assembly
Nothing really untoward here, everthing went back together very easily, with no real pitfalls. The main shaft went in first - this much easier than on the mancuna, as it's a single piece rather than two. Rather less play as well.

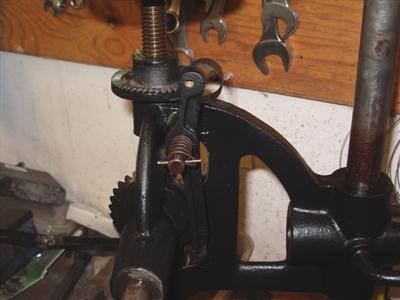
The side shaft and gear go in. Here I'm driving the tapered pin back in - only goes in one way round remember!
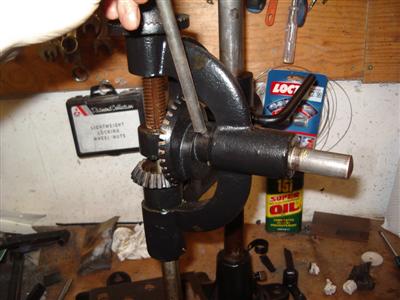
The bearing race, feed screw, and ratchet go in, and the top nuts are tightened. Tighten the main nut to give as little vertical play (backlash) as possible, without causing it to bind; then hold the main nut still and tighten the lock nut against it.
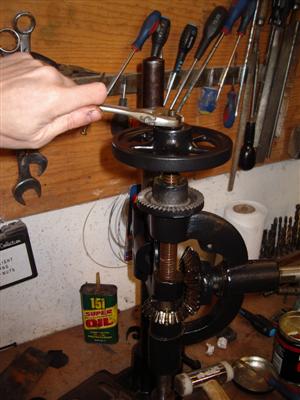
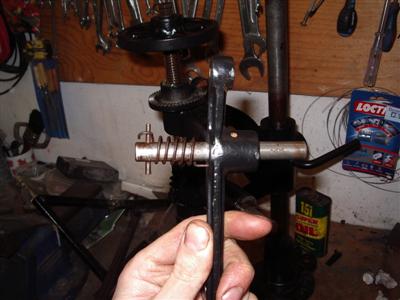
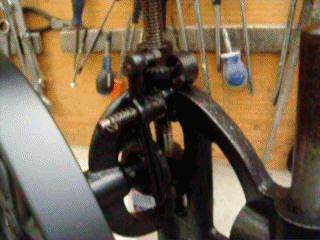
One of the most fiddly parts is this large flat spring, and getting the ratchet casting underneath it. I bent the spring back with pliers and wiggled the casting underneath. I can't really see what it does, apart from applying a bit of friction to the ratchet; maybe it stops it bouncing or kicking back.
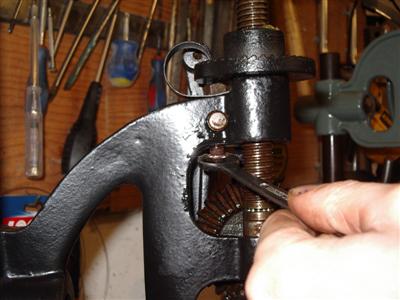
Then the feed mechanism, all cleaned up and moving properly now:
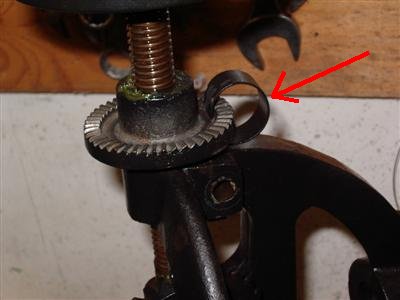
The shaft is held in by this awkward-to-reach setscrew.
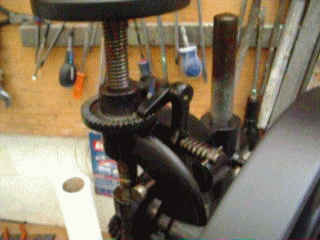
The adjustment screw was bent out of shape, but I was able to straighten it by gentle use of a hammer. Now it winds in and out with just finger pressure. It works by holding the lever away from the cam; so you can change the amount of movement each turn of the cam causes at the pawl end. In practice, this means that you can have it move zero, one or two ratchets per rotation of the handwheel. In the second pic, it's adjusted fully off - the lever is held away from the cam completely.


To replace the broken bolt which the pawl had pivoted on, I turned up a simple knurled screw in its place. The thread is whitworth as they all tend to be on machines of this age.

Here's a couple of short animations of the feed mechanism - pretty simple but hard to put into words. A bit dark unfortunately.
Handle
The final thing to do was to make a new handle, as there wasn't one.
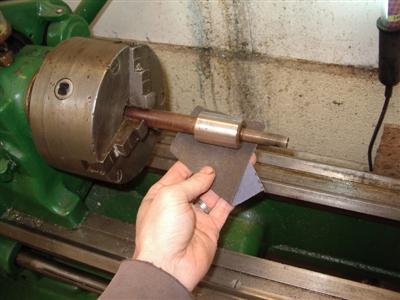
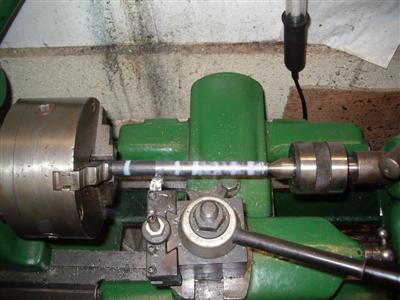
I bought a wooden file handle, drilled it all the way through and opened up one end. I also needed to turn one end down a bit, which I did on the lathe. Turns out it can do wood as well as metal! To make the shaft it ran on, I turned down a mild steel rod.
The fit into the wheel is by a taper. This is machined on one end of the rod, the other is tapped to hold a bolt and big washer. There is about 0.5mm clearance between the washer and the end of the handle so that it doesn't bind.
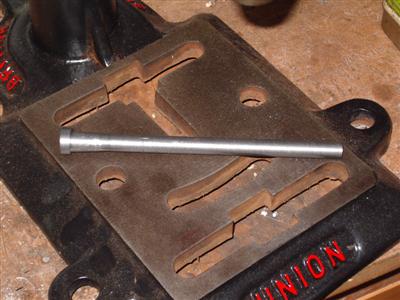
I gently drove the shaft into the wheel with a hammer, and my taper must have been reasonable as it jammed nice and tight. On with the wooden handle and it was all finished:
