Driveshafts in, and Engine Trial Fit
28 June 2009
During last week, my driveshaft bolts arrived, so today I was able to finally fit the driveshafts. However...
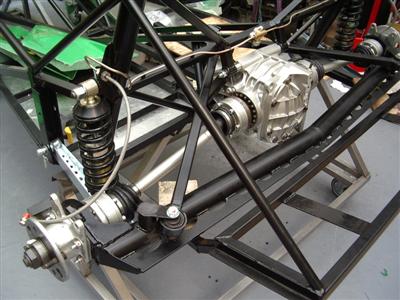
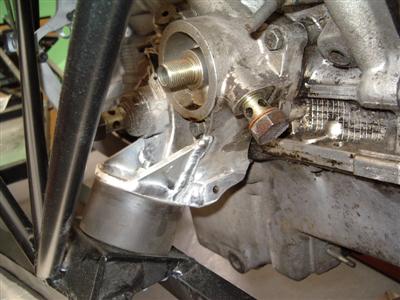
As soon as I started, it became clear why you were supposed to fit them earlier on. With the suspension all bolted up and the springs in, they don't want to fit! The pic shows the problem; it's bolted on to the hub, and there isn't quite room for the end of the shaft to get past the differential output flange:
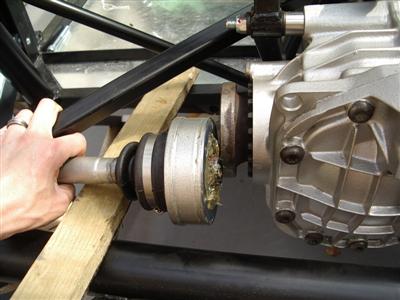
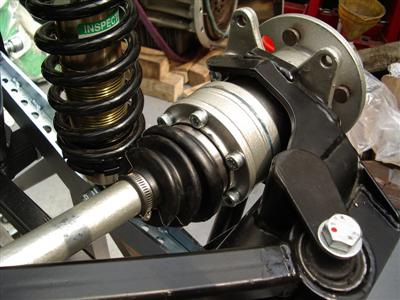
I loosened all of the suspension bolts in an effort to introduce a bit of wiggle, since it only needs a few mm of clearance, but it really is solid and I couldn't budge it. I really didn't want to take the springs off after such an effort getting them in, so I eventually decided to detatch the ends of the A-arm from the de-dion bar. I could then lift it out of the way, which meant that the loose end of the driveshaft could be brought into place from above the output flange, giving just enough clearance (below). I used Hylomere Blue sealant on the flanges.
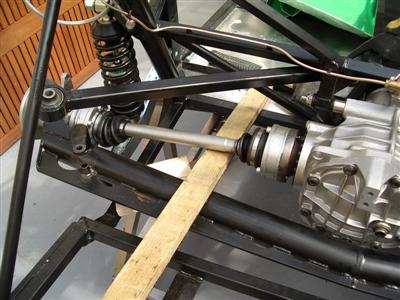
So that was all well and good. However, unbeknownst to me, the de-dion bar, free from the controll of the a-arm had rotated forwards. This only became apparent as I was turning the driveshafts and noticed the boots fouling on the suspension springs - you can see it in the pic above in fact. This meant that the holes where the a-arm was supposed to attach to where not even thinking about lining up.
To cut a long story short, it took an hour of heaving, levering and sweating (25 degrees today!) to connect the two bolts up again. It's all bloody heavy and difficult to manage with one hand whilst trying to push a bolt through two parts with the other. What I should have done is tack the driveshafts in place in the order specified in the build manual with any old bolts, then replaced them in place, one at a time. Hindsight eh? Fantastic.
The other job I had to do was turn down some washers. Ordinary M8 washers are too big, the original fitment used some special curved washers. However, I didn't have enough of those, and they were pretty rusty anyway. So I took a stack of 25 washers and put them on a bolt, tightened it all up with a nut, then mounted the bolt in the lathe. Then I turned down the washer stack to the right diameter, giving me a set of washers the right size:
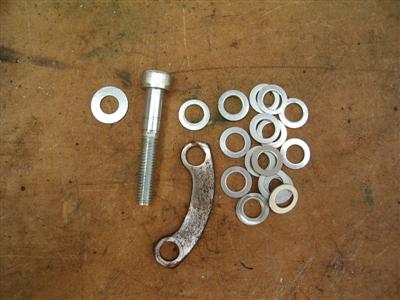 Original M8 washer on the left, special ford curved washer at bottom, and the turned down washers everywhere else
Then it was just a case of torquing each of the 24 bolts up to the specified amount (itself a long and fiddly job, as access is quite tight), and it was done. And jolly nice it all looks too, I think. There's something about the look of driveshafts on rwd cars that tickles my engineering pleasure centres.
After lunch, I had a bit of a think, and decided that I really need to trial fit the engine and gearbox before I can do much else. Then I can see what I'm dealing with around the transmission tunnel in particular. I'm also toying with the idea of moving the handbrake (I really dislike the standard fitment under the steering wheel, and it is by many accounts a right pain to use when you're strapped in a harness) and need to see where (if anywhere) I can squeeze it.
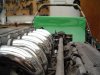
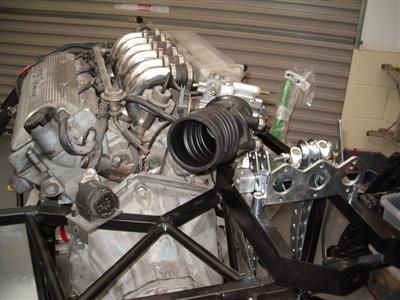
After a bit of testing, it looked like the crane should just be able to lift the engine into the chassis when it was on the stands. Unfortunately (I seem to be saying that a lot!), the stands would get in the way of the crane legs. So instead, I lifted up the front of the chassis, remove the stand, and replaced it with a couple of axel stands. I was then able to hoist the engine in fairly easily - but very carefully because clearance is, well, see for yourself:
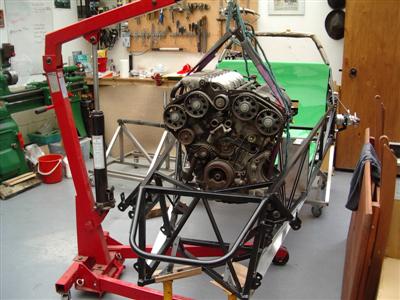 Insert your favoured "tighter than a *****'s ****" analogy here
I then had to lift the front of the chassis off of the axel stands by hand, whilst the missus slipped the wheeled stand back in underneath. It's a lot heavier with the engine in, that's all I can say!
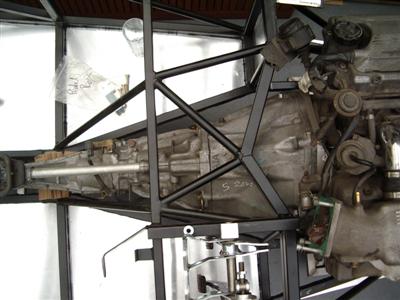
Then I put the gearbox on the floor under the car, and hoisted it up into the chassis using the engine crane. This was rather harder than getting the engine in...I think it will be quicker to do the engine and box as one, but is probably more of a two man job. Anyway, eventually I manouvered the box into place and got it bolted up to the engine. At which point I stood back and enjoyed the view. It's a bit tight virtually everywhere, but all looks like everything should just fit. He says, crossing his fingers.
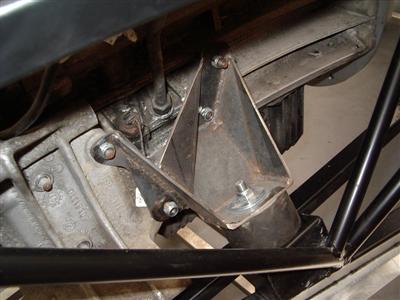
 Custom engine mounts fabricated by Dax. The driver's side one (right) is ally, welded on to what was one of the driveshaft bearings
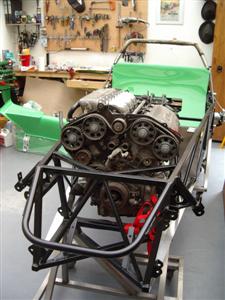

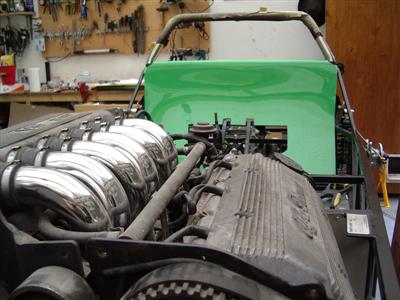
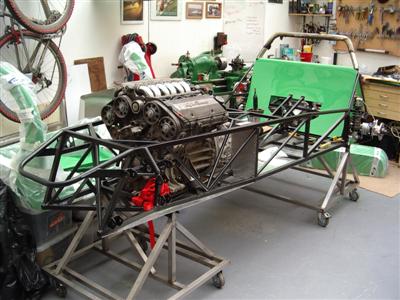
All looks a bit "Mad Max" to me. Excellent.