
Driver's Sill, and Much Patching
Jan-July 2016
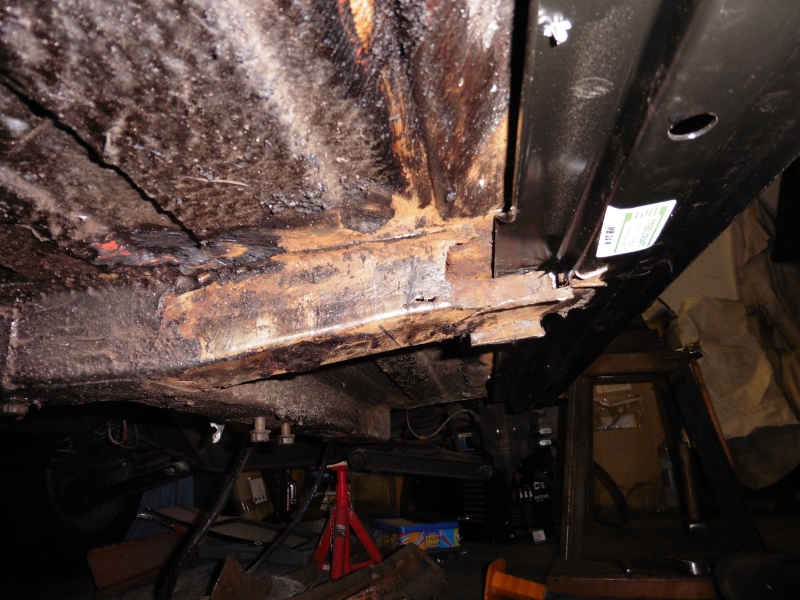
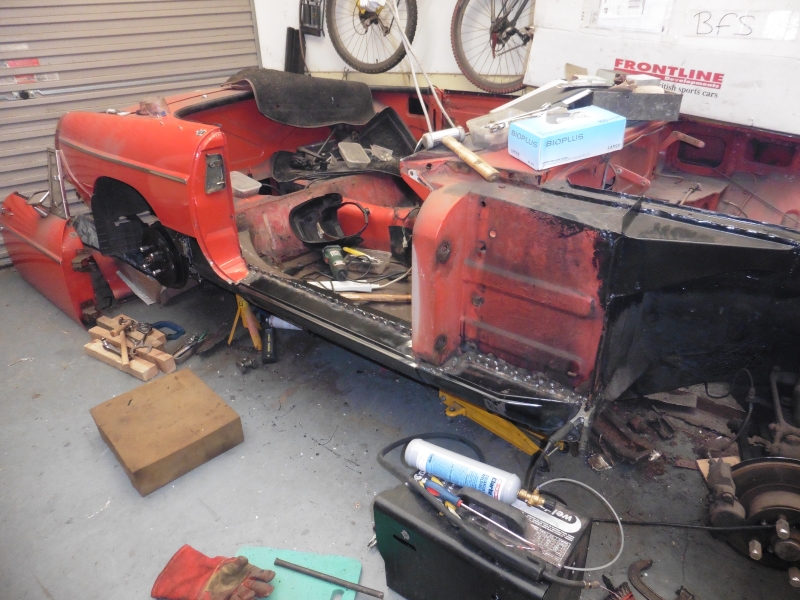
Ahhh, sills. Well actually, before I got onto the sill, I noticed that the strengthening box above the driver's wheel was rusted out; this is (apparently) another common problem area. So I bought a replacement panel and cut the old one away...to find that the inner wing was also gone through underneath:
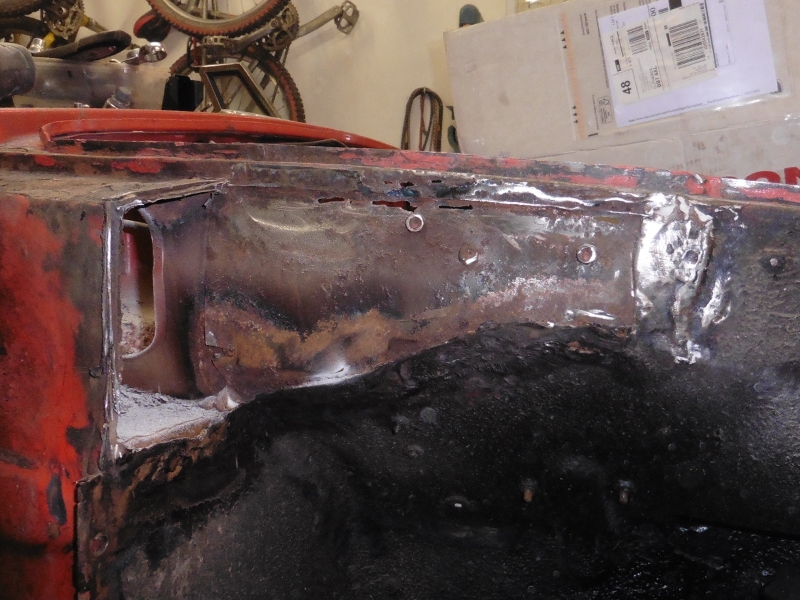
So I had to cut a section out...
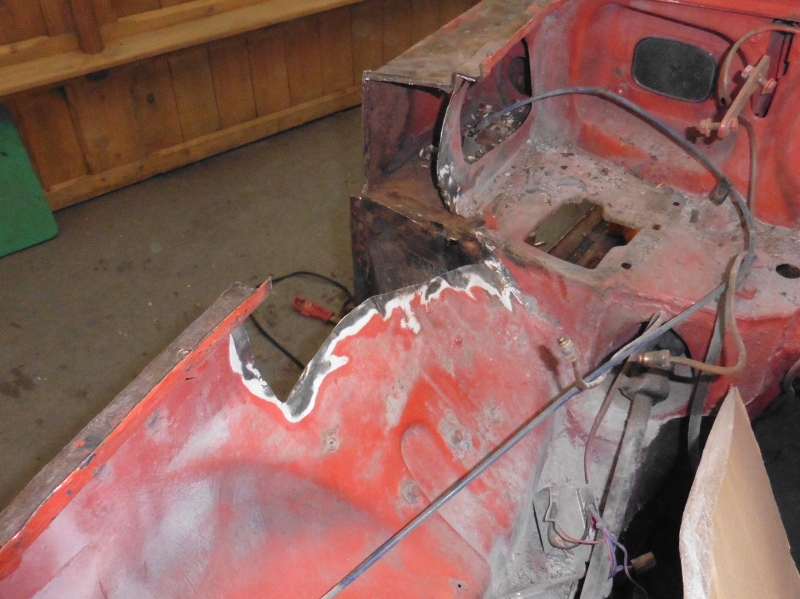
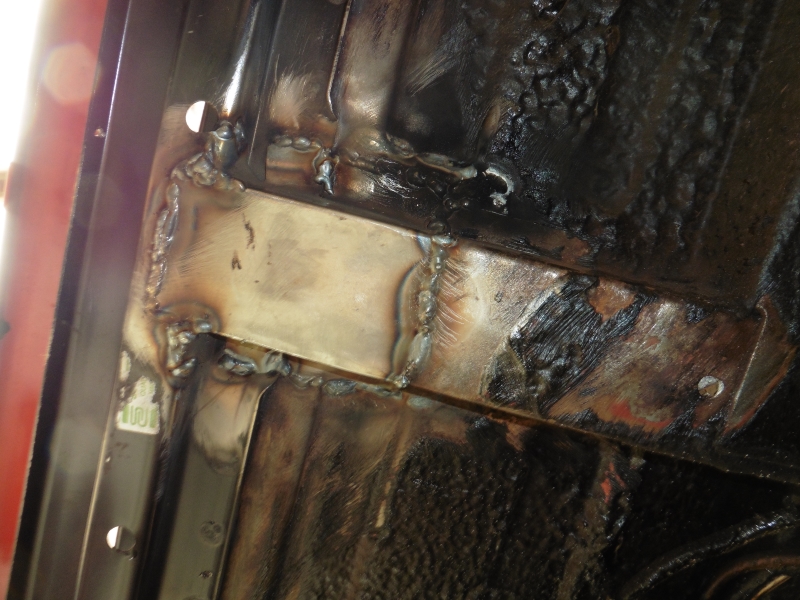
And make a new one. This was my first real foray into sheet metalwork with compound curves; I invested in a set of sheet metal hammers and dollies, and a sandbag...plus I've got a blacksmith's anvil, which proved very useful (though a large block of mild steel in a vice would be fine for this sort of thing). I was pretty pleased with it, it all fitted well and I managed to weld it in without blowing too many holes everywhere.
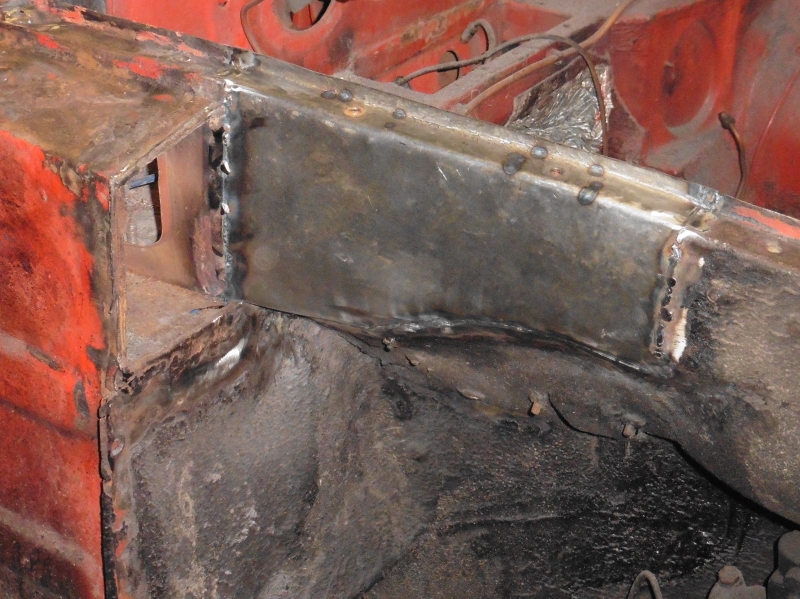
Welding the strengthening box on was then very straightforwards...so much so that I didn't even take a picture!
From there, I moved on to the sill.
Oh dear, oh dear, oh deary me
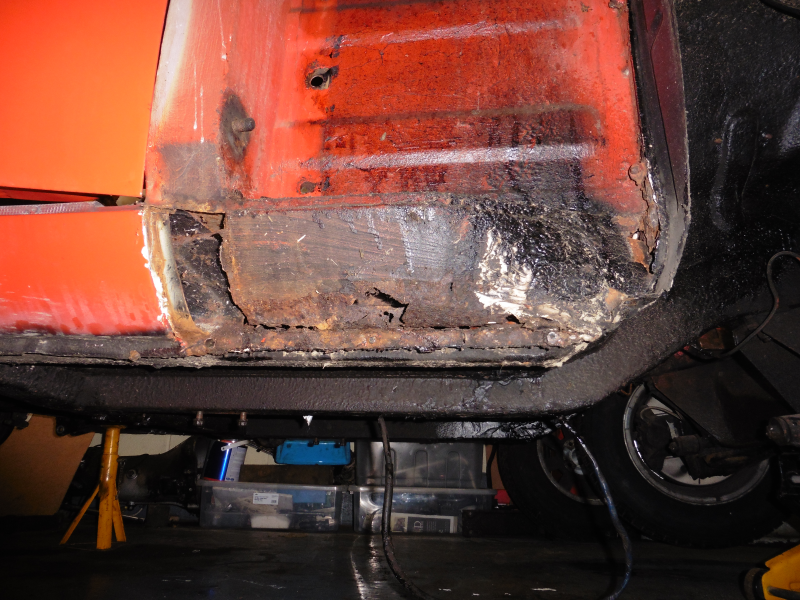
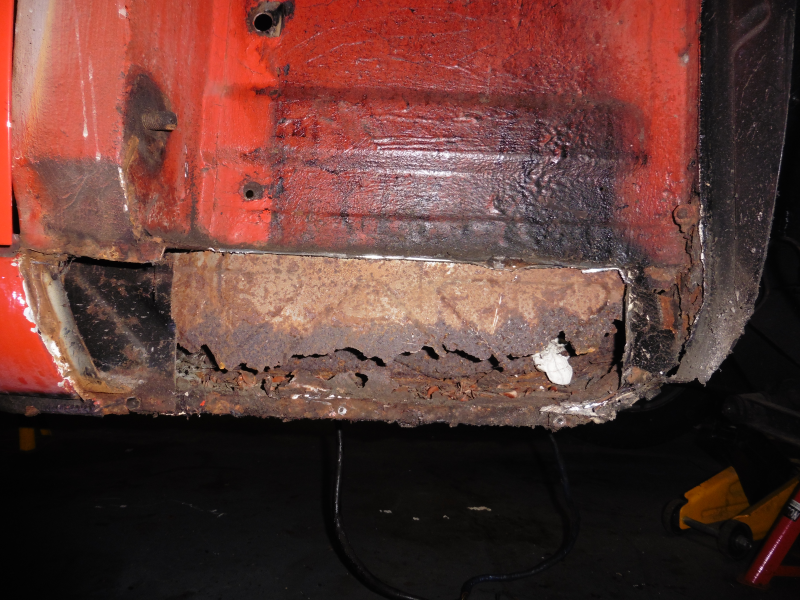
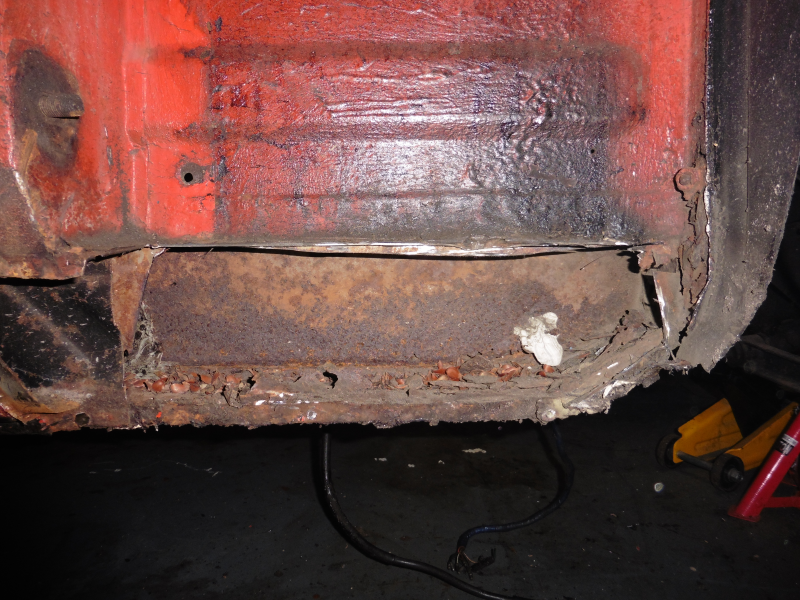
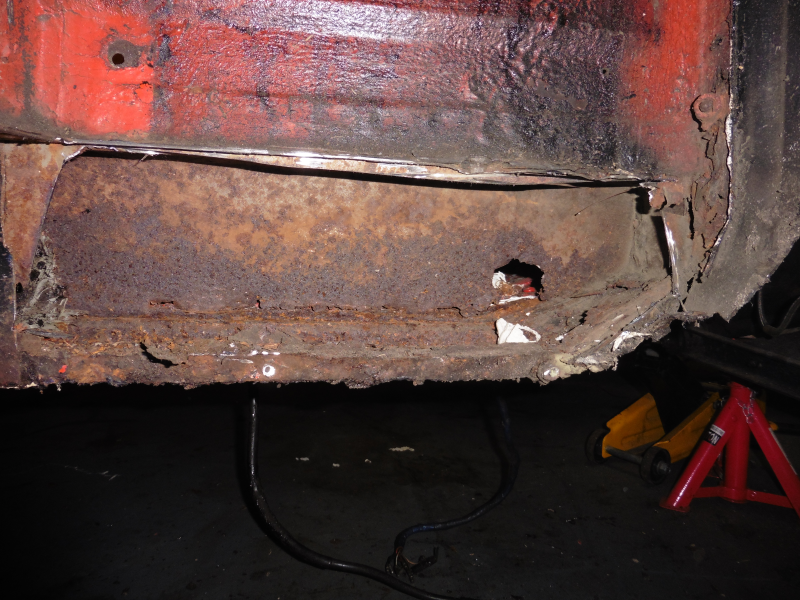
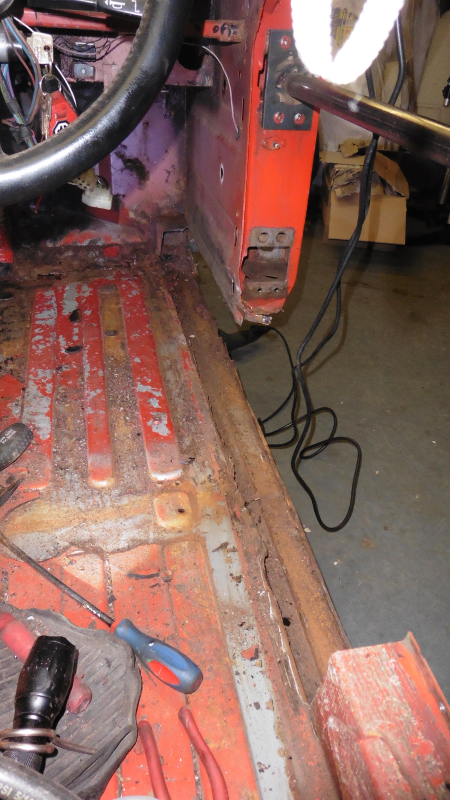
Not much else to say really. It was rusted to buggery, and back again. As was a large section of the adjacent floor. I think this side suffered more because of the previously mentioned leak at the to of the wing, which I'd found whilst running the car was causing water to pour down the inside of the footwell and soak everything. All this was apparently nice for something though, which had obviously set up home inside the sill and left me a lovely haul of nut shells.
The rot had obviously been going on for a while as someone had filled two gert great holes in the inner sill with white mastic, then painted over it...'cos that'll make it all better.
So, this one was going to have to come out, completely, no messing. I did a lot of reading and the word from the more experienced folks was basically "angle grind all the way down the castle rail underneath, drill out all of the welds, chisel the whole lot out". I was a bit scared of messing it up however so I took things rather slowly, peeling off a layer at a time, which took bloody ages. And in the end I'd done exactly what they'd said, just really slowly. But still.
Before doing anything major, I made a brace to hold the door opening still; otherwise it all sags when you cut the sill out. I made it all rather nicely with two plates to bolt onto the door hinge/latch fitments and felt very pleased with myself...much neater than welding a bit of box section on like everyone else does.
It wasn't until later that I realised that it was in the way of refitting the door, which you have to do to line up the outer sill...so I had to weld a bit of box section on anyway. D'oh.
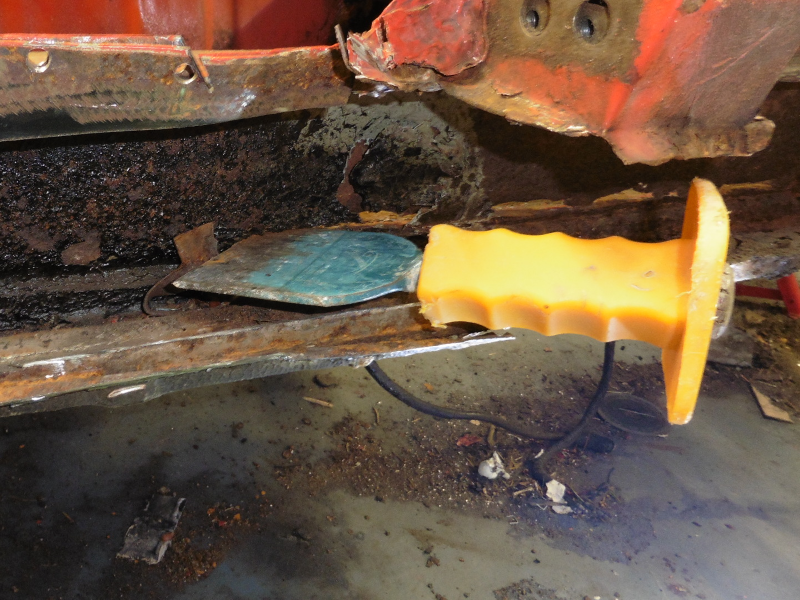
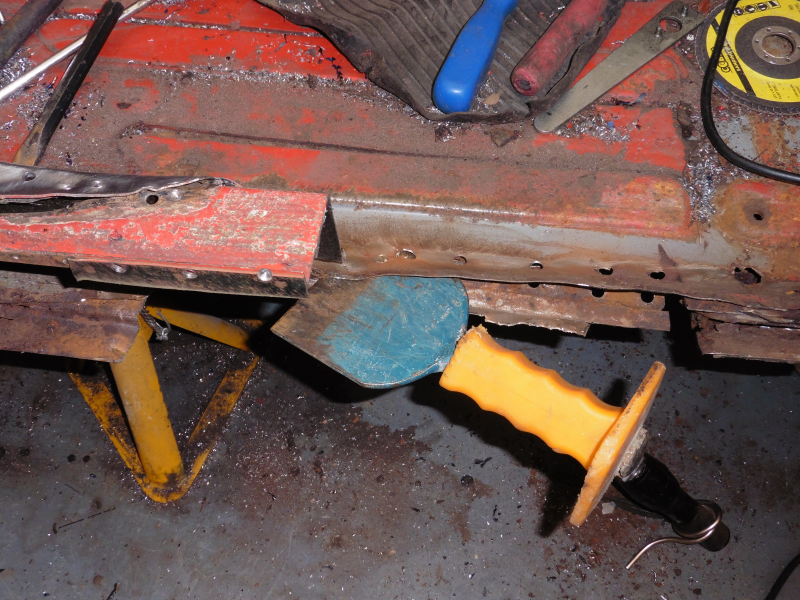
So, the removal. A great deal of drilling to remove the welds, and I mean hours and hours. Then chiselling to pop the layers of steel apart. Below is shown removing the inner sill, then on the right, separating the floor from the castle rail which runs along the entire length of the car.
It was clear that at some point, someone had welded (well, sort of - tacked in by waving a welder somewhere near it) repair sections over the original castle rail, which had rusted away. I was encouraged because looking at the state of the work (two little blobs of weld in 6 inches? Come on!) I felt that I could barely make it worse.
Anyway, eventually I was left with a gaping big hole and variously tattered edges. From there, the healing can begin...
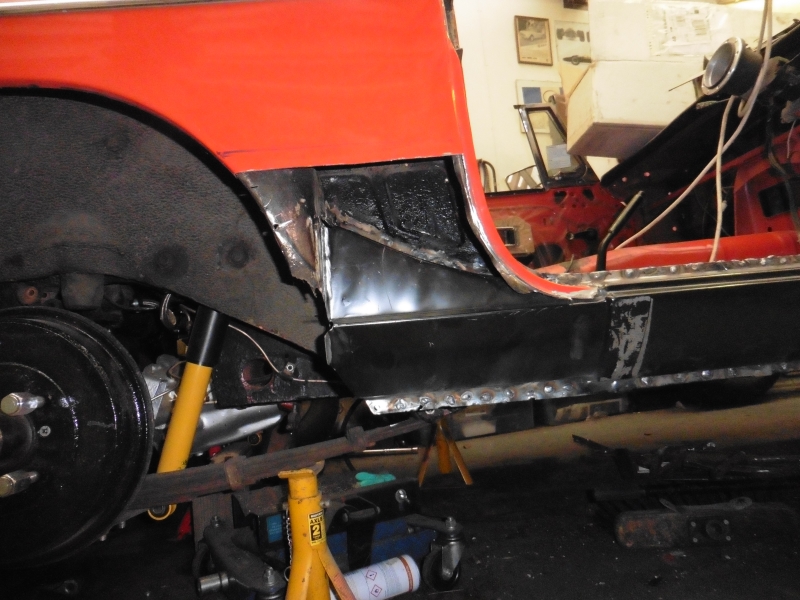
The Rebuilding
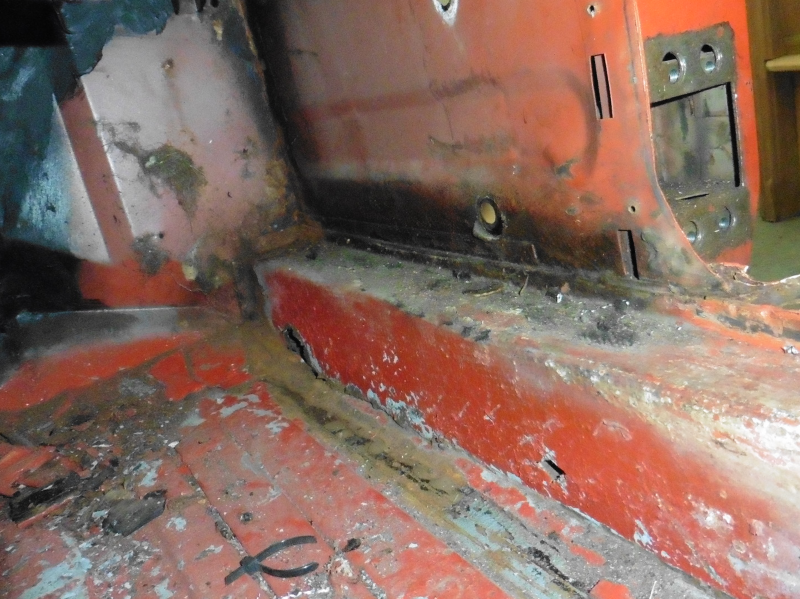
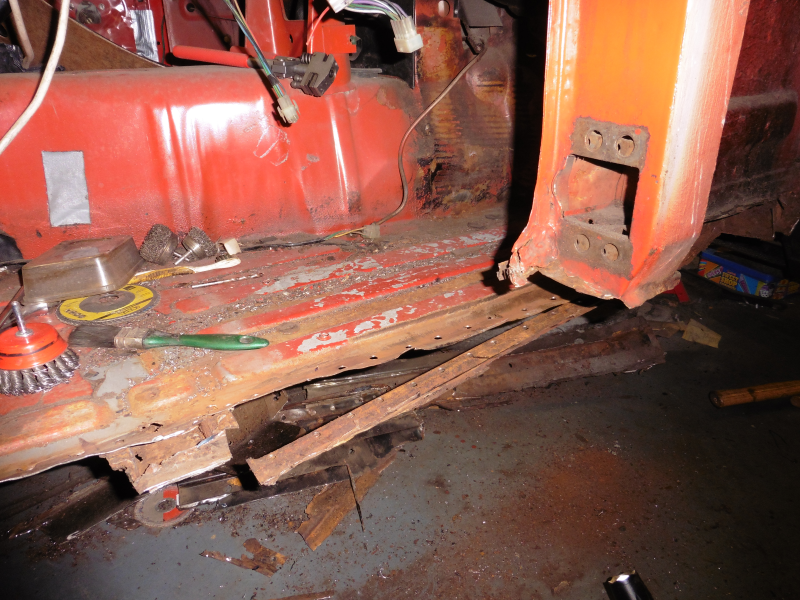
The big problem now was lining the new sills up with everything else. It's a faff because each sill is actually in four parts - the castle rail, inner sill, membrane, and outer sill. Which is quite a lot of parts to line up. I also had various repairs to make to the edges of the floor; I was in two minds as to whether to replace the entire floor panel but at this rate, I was going to end up with a whole new car!
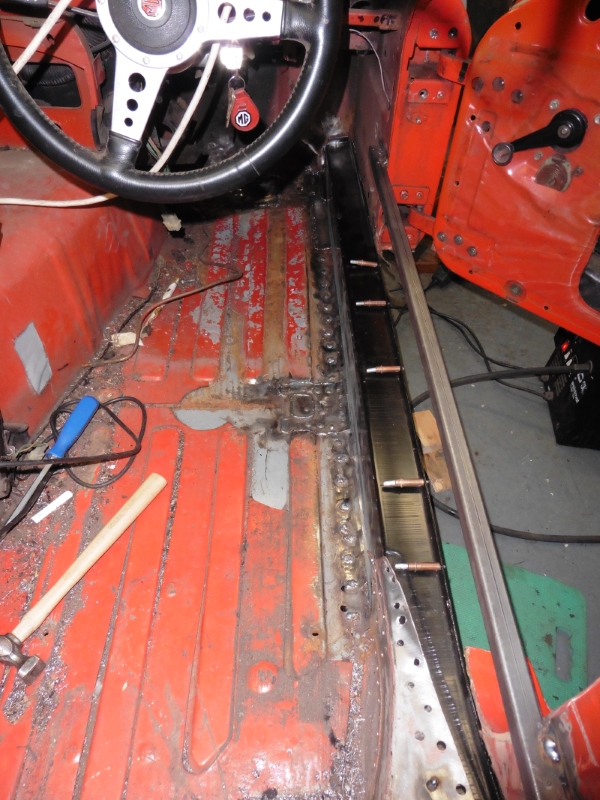
I started with the castle rail; though at each stage I spent a lot of time firstly with clamps, then with cleekos, to make sure that everything else was still lining up.
The rail sits on the chassis outrider, then at each end I lined it up with the points where the old one was. I had to rebuild the end of the chassis outrider as it was rusty. I could have replaced the whole thing, but I judged that would involve more cutting than was necessary - the inner parts of it were fine - and I'd risk losing what was my only known reference point.
From there, I used the membrane as a spacer to ensure that the top of the inner sill was in the right place, with many cleekos. I've since seen people do this with wooden spacers but I guess it all achieves the same thing
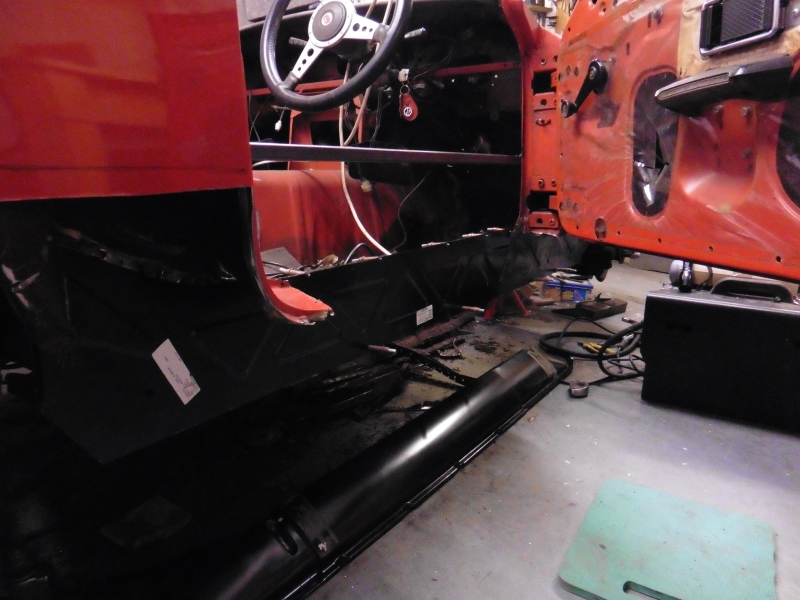
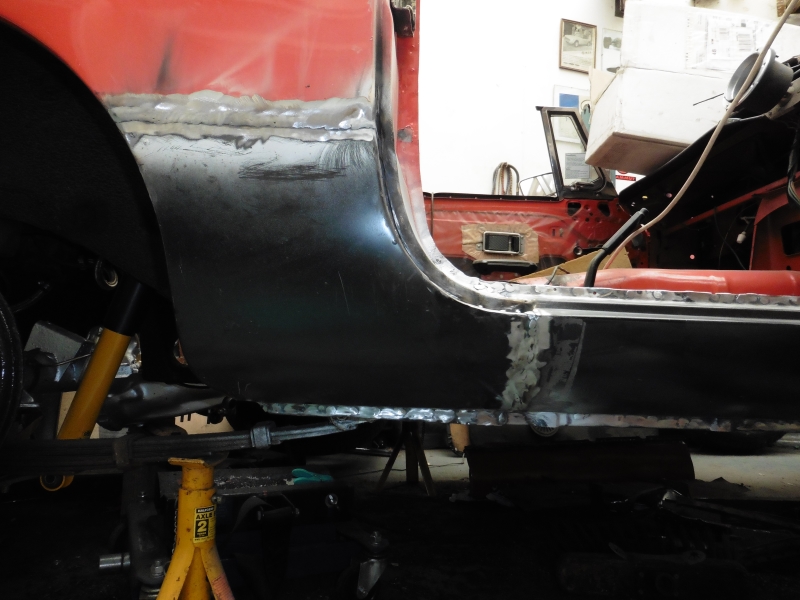
Then with many, many, many refittings of the membrane and outer sill to check that the wing and door all lined up (and for the longest time it just looked as if none of it would; the outer sill in particular seemed to need the top fixing, then a jack underneath it to push it upwards and outwards for it to adopt the proper shape), I gradually tack-welded in, then plug welded all of the drill holes. Below is a pic of the inner sill welded to the floor and castle rail, also visible is one of the seat mounting bosses which I wasn't happy with so I fabricated a new one.
There were a couple of patches required to the front of the driver's floor (yeah, by this time I really was wondering if I shouldn't have just replaced the whole floor). Not complicated, but welding in the footwell is seriously unpleasant.
As each section went on, I took the time to prime and paint the insides (with anti-rust primer and a couple of coats of hammerite black), except on the flanges where I used weld-through spray. I will get the insides sprayed with waxoil as well, to give the new sills the best possible protection this side of having a galvanising tank.
I plug welded each section, which meant more drilling and grinding, yaay. Still it's easy to weld that way at least.
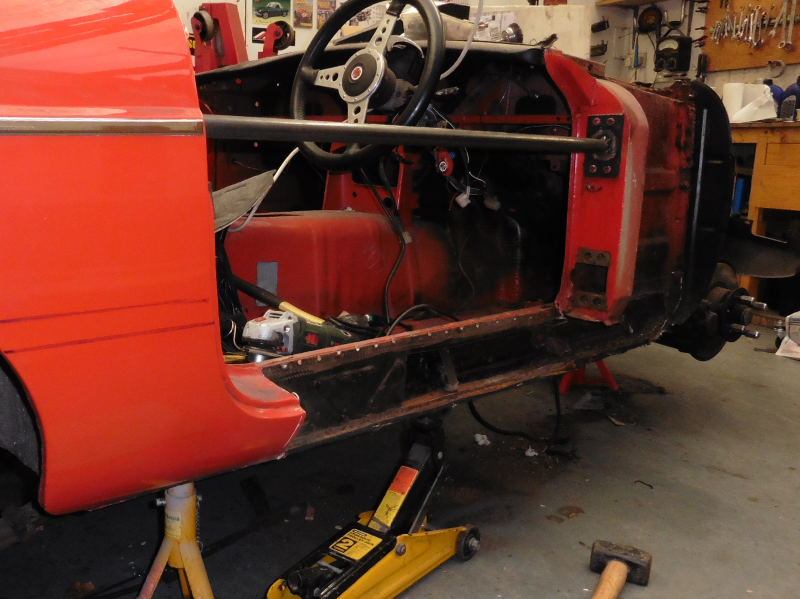
Did I mention how many refittings there were? I really can't emphasise enough how often you need to check things. The outer sill as mentioned is very fiddly, though you at least have very clear registers for it to fit to (A-pillar and the B-Pillar). But even then, a little flake of metal sticking out a couple of mm can mess everything up. Plus you need to keep fitting the door to check that the gap around it is even. However, eventually, it all came together:

Oh, and yeah, get a welder with a Euro torch, and preferably, a proper - sized gas bottle. I've gone through loads of these disposables doing this; unfortunately I don't really have room for a full sized bottle. But if you can, it'll save loads of money.
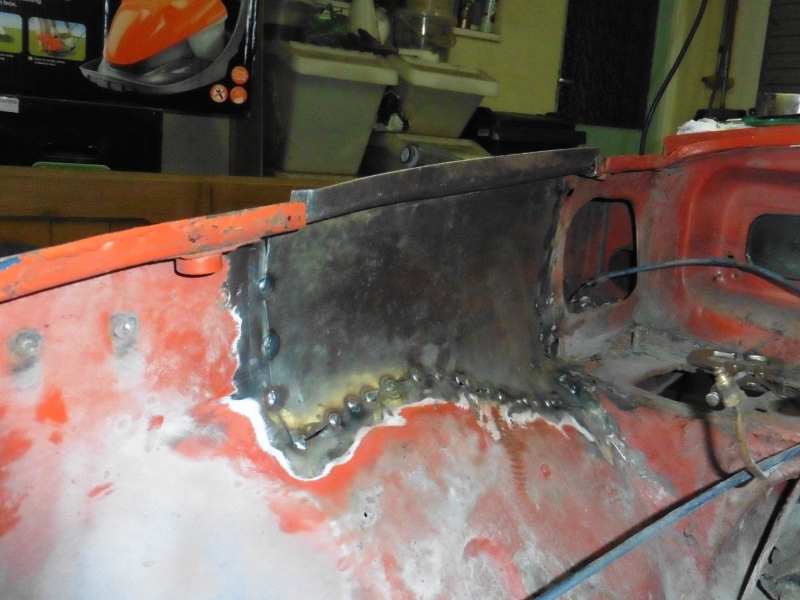
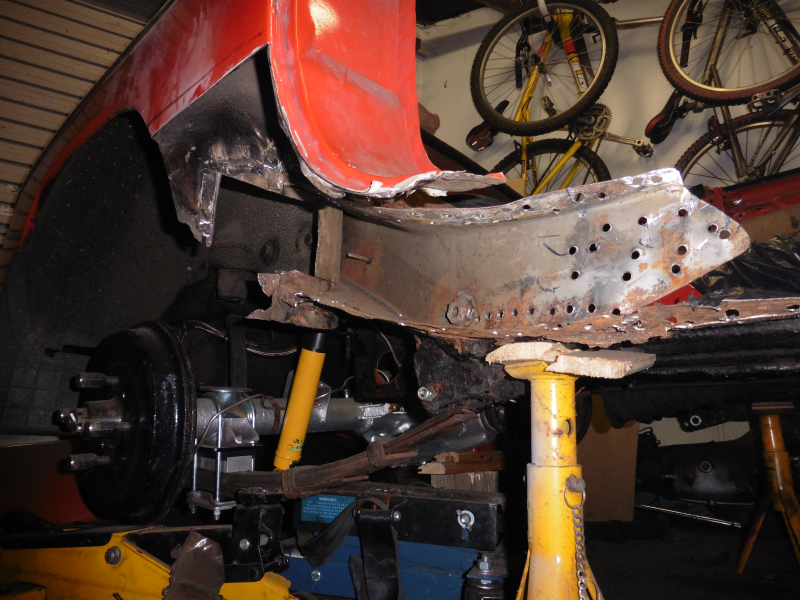
The final bit of welding is fitting the replacement wing panel. This was actually quite enjoyable compared to the sills which were an unmitigated ball-ache! I used a joggler to put a step in the edge of the panel, but to be frank it's a bit crap and doesn't really make enough of an indent. So I went to the anvil and did it with a big hammer, much better.
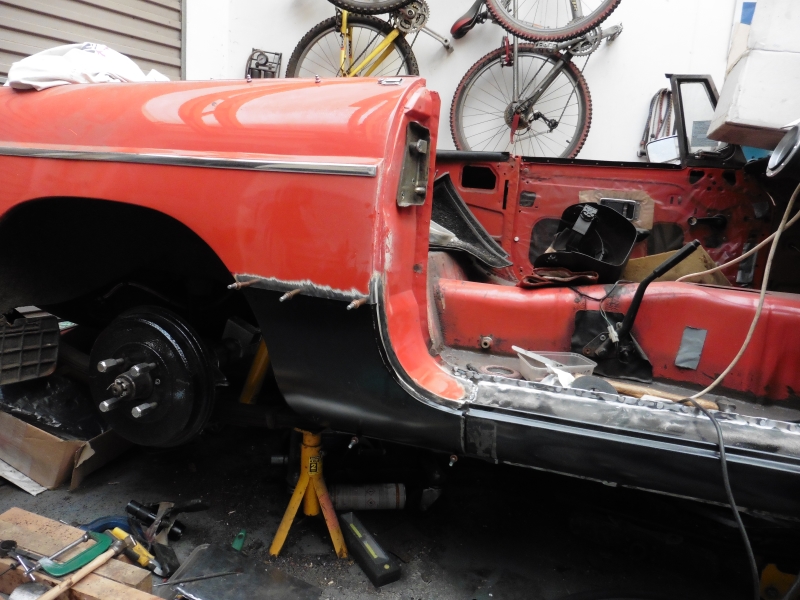
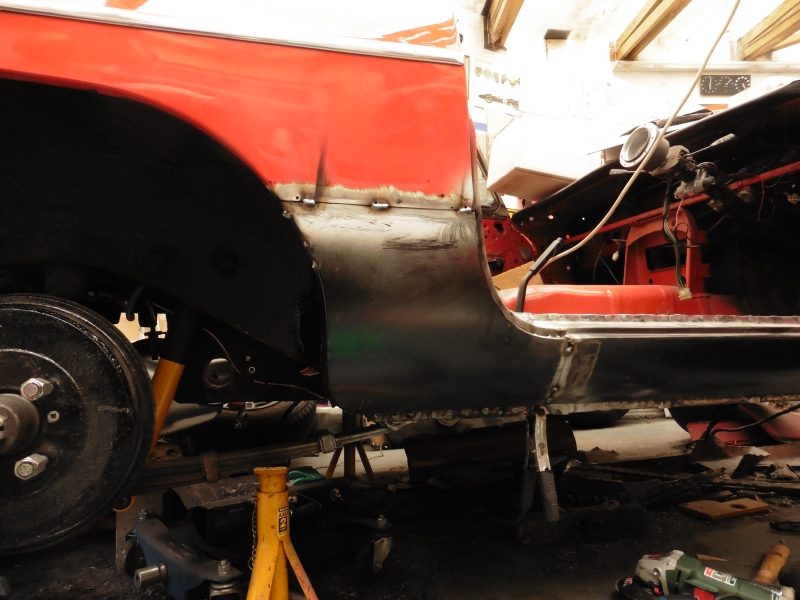
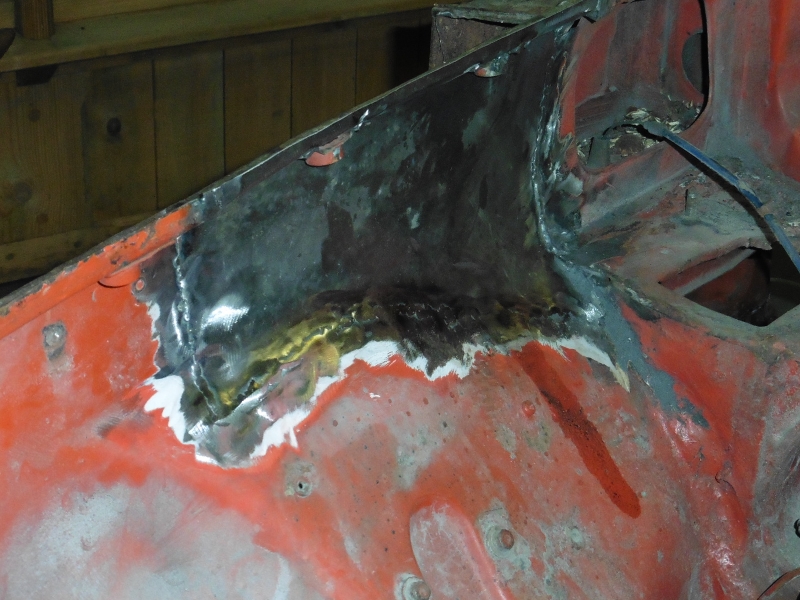
From there it was down to the isopon and many, many rounds of filling, spraying with primer, and sanding, until the join was no longer perceptible. I also ground down all of the visible plug welds flush, and stuck a coat of primer over everything. Underneath, I primed, painted and coated with waxoil underbody sealeant; I'm planning on getting the underbody sprayed properly when it's finished, but want it as protected as I can make it until then.
During the course of doing the wing, I realised that the wing on the other side (and indeed this side, before I cut it off), had been replaced, and refitted very badly. They stuck out at the bottom far further than they should, about a quarter inch outside of the door. I'd assumed that that was how they were supposed to be, but checking out a few at car shows over the summer, I realised that no, it had just been bodged. I managed to get a good fit with the repair panel though, so I will do the same on the other side - cut out the bottom of the wing and weld a new panel in.